2026-06-12
Content
Installing composite decking involves preparing a level subframe, laying boards with correct spacing, securing them with hidden fasteners or face screws, and finishing the edges with trim pieces. A standard residential deck of 20 to 30 square meters can typically be completed by two people in one to two days when the subframe is already in place. The process is significantly more straightforward than installing timber decking because composite boards require no pre-treatment, sanding, or sealing — and when you follow the manufacturer's spacing and fixing guidelines precisely, the finished deck will deliver decades of low-maintenance performance.
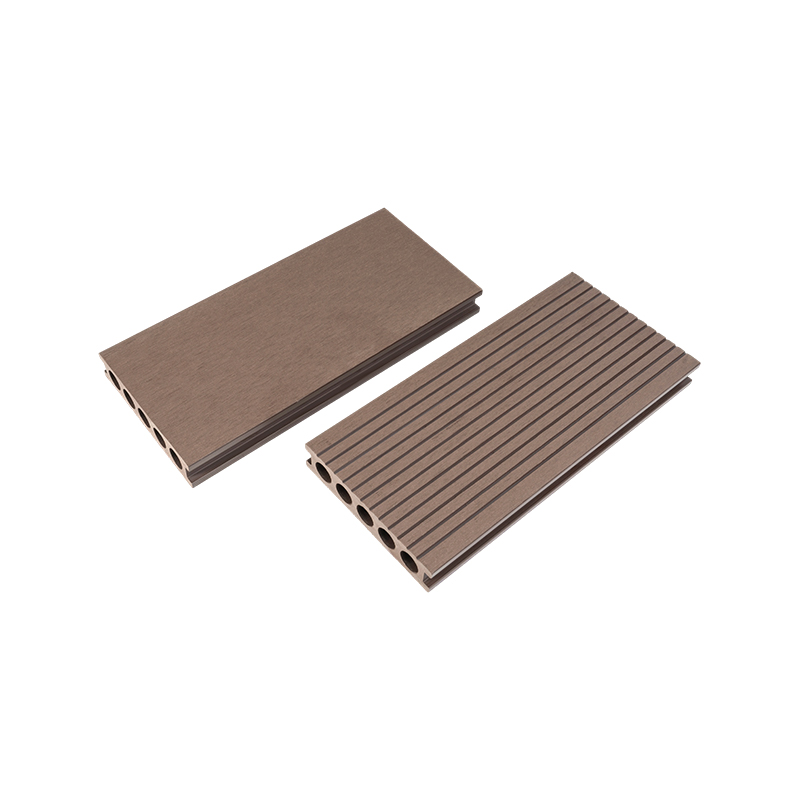
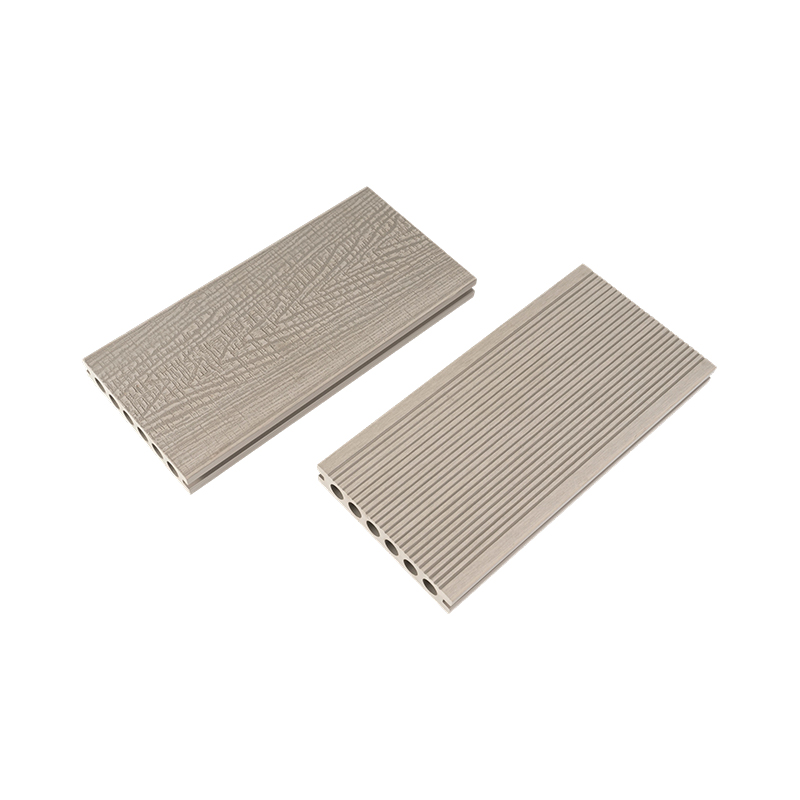
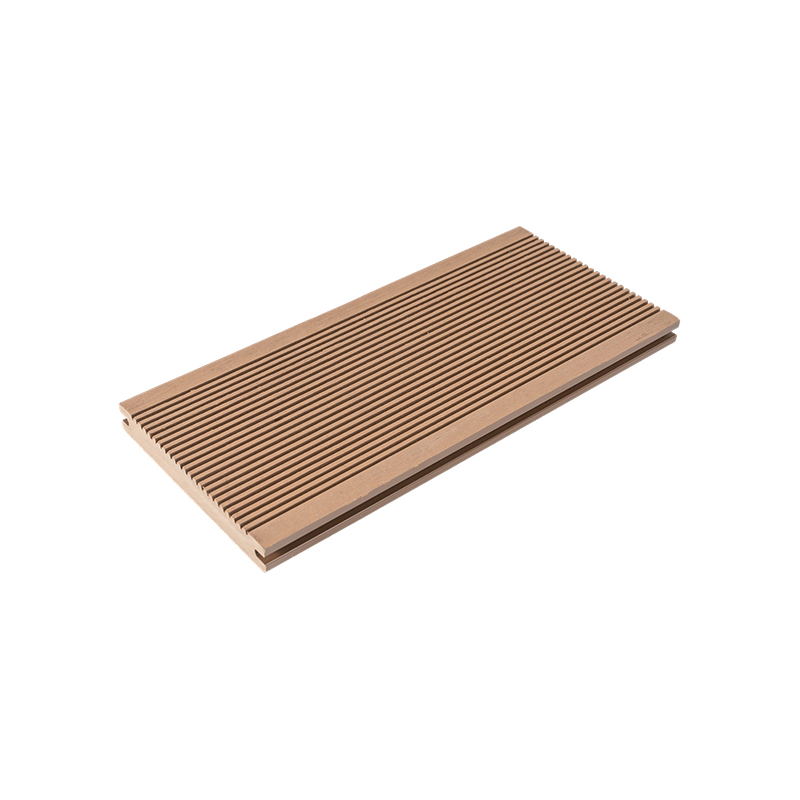
Before beginning any installation, it is important to understand which type of composite decking you are working with, as each has specific handling and installation characteristics. There are three main types available on the market today:
All three types share the same fundamental installation methodology, but always review the technical data sheet supplied with your specific product before starting. Cross-sectional profile dimensions, recommended joist spacing, and compatible fastener systems vary between products and manufacturers.
Having all tools and materials organized before you begin prevents interruptions and ensures a consistent result. The list below covers what is needed for a complete composite deck installation from subframe to finished edge.
Thorough planning before installation begins prevents costly errors and material waste. Spend time on the following planning steps and your installation will proceed far more smoothly.
Measure the total deck area in square metres. Divide by the coverage area per board (board width minus gap width, multiplied by board length) to find the number of boards required. Always add a minimum of 10% to your total to account for end cuts, waste, and any boards damaged during installation. For diagonal or herringbone laying patterns, increase the waste allowance to 15% due to the greater number of angled cuts required.
The most common board orientation runs parallel to the longest dimension of the deck or towards the primary viewing direction from the house. Boards running away from the main entry point create a visual effect of depth. For decks with steps or multiple levels, maintain a consistent grain direction across all levels where possible for visual cohesion. Mark your chosen board run direction on a sketch before ordering materials, as this determines your joist layout direction — joists always run perpendicular to the decking boards.
Composite decking expands and contracts with changes in temperature. Most composite boards expand by approximately 3 mm per linear metre for every 20°C change in temperature. Failing to allow for thermal movement is one of the most common installation errors and can result in boards buckling in summer or developing visible gaps in winter. As a general rule:
In many regions, decks above a certain height — commonly 300 mm or 600 mm above ground level — require a building permit. Elevated decks typically also require structural engineering sign-off for the subframe and any supporting posts. Check with your local authority before beginning construction to avoid compliance issues after completion.
The subframe is the structural skeleton of the deck and has a greater influence on the finished result than almost any other factor. A subframe that is level, square, and built with the correct joist spacing will make the board installation process straightforward and will ensure the deck performs correctly for its full service life.
| Board Type | Standard Joist Spacing | Diagonal / Angled Layout | Butt Joint / Board End |
|---|---|---|---|
| Solid WPC board | 400 mm centre-to-centre | 300 mm centre-to-centre | Double joist at each joint |
| Hollow WPC board | 300 to 400 mm centre-to-centre | 300 mm centre-to-centre | Double joist at each joint |
| Co-extruded board | 400 to 500 mm centre-to-centre | 300 mm centre-to-centre | Double joist at each joint |
Adequate airflow beneath the deck prevents moisture accumulation that can degrade timber subframe components over time. Maintain a minimum clearance of 50 mm between the ground surface and the underside of joists for low-level decks. For decks over soil, consider laying a weed-suppressing membrane beneath the deck area to prevent vegetation growth — plants pressing up against the underside of the deck structure can trap moisture and restrict airflow.
With the subframe complete and confirmed level, board installation can begin. The two principal fixing methods for composite decking are hidden clip fixing and face screw fixing. Hidden clip fixing is the preferred method for finished decks as it leaves a clean, fastener-free surface, while face screwing is faster and can be appropriate for utilitarian applications or where board replacement accessibility is a priority.
Face screwing involves drilling through the top face of each board into the joist below. Pre-drill a countersunk pilot hole at each fixing point to prevent the board from splitting and to ensure the screw head sits flush with or slightly below the board surface. Use stainless steel or coated screws specifically rated for composite decking to resist corrosion. Fix at two points per joist per board, positioned 15 to 20 mm from each board edge. Space boards using a spacer tool or a 6 mm timber offcut to maintain consistent gaps throughout the installation.
Composite decking cuts similarly to timber but requires a blade suited to its material composition. Using the correct blade and technique produces clean, splinter-free cuts that require no additional finishing.
The perimeter finish transforms a functional deck installation into a polished, professional result. Fascia boards conceal the subframe structure and cut board ends around the perimeter, creating a clean visual edge from every viewing angle.
Fix fascia boards vertically against the outer face of the perimeter joist. The top edge of the fascia should sit flush with or just below the top surface of the decking boards. Pre-drill all fixing points to prevent splitting, and use colour-matched screws where fascia is fixed in visible locations. At corners, mitre the fascia boards at 45 degrees for a neat, furniture-grade joint. Apply a small bead of exterior-grade composite-compatible adhesive to mitre joints before screwing to prevent the joint from opening over time due to thermal movement.
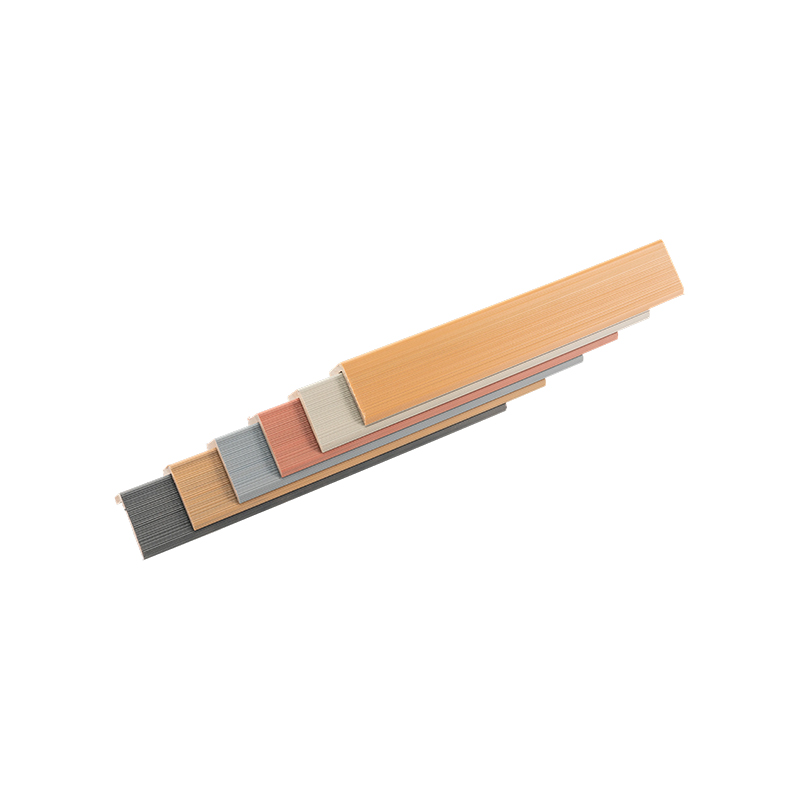
Many composite decking systems include a matching L-shaped edge trim profile that clips or screws over the exposed perimeter board edge, covering the gap between the deck surface and fascia in a single component. This trim also protects the exposed side of the perimeter boards from impact and wear. Use the same colour family as the deck boards for a seamless appearance, or select a contrasting trim colour for a deliberate design accent.
Composite decking is widely used on concrete slabs, flat roof terraces, and balconies where a traditional timber subframe on posts is not appropriate. In these applications, the subframe is replaced by adjustable pedestal supports or composite sleeper joists fixed directly to the concrete substrate.
Adjustable pedestals allow the deck surface to be levelled precisely over uneven concrete substrates without drilling or adhesive. They are the preferred solution for rooftop and balcony applications because they preserve the waterproof membrane beneath the deck and allow rainwater to drain freely through the board gaps to the drainage outlets below. Set pedestals at 300 to 500 mm centres depending on the joist and board specification, and adjust each pedestal to bring the joist top surface to within 2 mm of level across the full deck area before laying boards.
Where a very low deck profile is required, composite or aluminium sleeper joists can be fixed directly to a level concrete surface using concrete anchors. Apply a strip of closed-cell foam tape between the joist and concrete to prevent moisture wicking into the joist underside. Ensure the concrete surface slopes at a minimum of 1:80 to drain water away from the building before installing sleepers. Boards are then laid and fixed over the sleepers using the standard clip or face-fix method.
Understanding the most frequent errors made during composite deck installation helps you avoid problems that can compromise both the appearance and structural integrity of the finished deck.
| Mistake | Consequence | How to Avoid |
|---|---|---|
| Insufficient expansion gaps at board ends | Boards buckle or bow in hot weather | Always leave minimum 6 mm end gap; 10 mm at fixed structures |
| Uneven subframe joists | High and low spots visible in finished deck surface | Check and correct all joists to within 2 mm of level before boarding |
| Incorrect joist spacing | Board flex and sag underfoot; potential structural failure | Follow manufacturer's specified maximum joist spacing for the board profile |
| No double joist at butt joints | Board ends unsupported; visible deflection at joints | Always install a double joist (or wide joist) at every board end joint |
| Skipping board acclimatisation | Gaps open or boards push together after installation in different temperatures | Allow 24 to 48 hours on-site acclimatisation before fixing |
| Using standard wood screws instead of composite-rated fasteners | Corrosion, staining, and fastener failure | Use only stainless steel or hot-dip galvanised composite-rated screws and clips |
Once all boards and trim are fixed, carry out a systematic inspection of the completed deck before use. These checks take less than 30 minutes and confirm that the installation meets quality and safety standards.
One of the significant advantages of quality composite decking is that no post-installation painting, oiling, or sealing is required. The boards are ready to use immediately after installation. Composite decking products manufactured from polyolefin plastics and treated cellulose materials — such as those produced by Jiangsu Senyu New Material Co., Ltd. — integrate colour throughout the board body or apply it evenly to the surface, ensuring fade resistance and colour consistency from day one without any additional treatments. This eliminates the time and cost involved in the annual maintenance cycles required by traditional timber decks.
Composite decking is installed across a wide range of residential and commercial environments. While the core installation process remains consistent, each application type has specific considerations that influence subframe design, board selection, and fastener choice.
| Application | Key Installation Consideration | Recommended Board Type |
|---|---|---|
| Garden deck / patio | Ground clearance for ventilation; weed membrane beneath frame | WPC or 3D embossed |
| Balcony / rooftop terrace | Protect waterproof membrane; use pedestal system for drainage | Co-extruded or hollow WPC |
| Swimming pool surround | Anti-slip surface essential; chemical-resistant board recommended | Co-extruded with grooved anti-slip surface |
| Restaurant / commercial plaza | High foot traffic — reduce joist spacing; use heavy-duty fasteners | Solid WPC or co-extruded |
| Waterfront / port boardwalk | Marine-grade stainless fasteners; corrosion-resistant subframe | Co-extruded with UV and salt-spray resistance |
| Park pathway / public space | Accessible gradient compliance; robust subframe for varied loads | WPC or 3D embossed |
Jiangsu Senyu New Material Co., Ltd. supports projects across all of these application types, offering WPC profiles in various cross-sectional designs developed using CAD technology to match specific load, span, and aesthetic requirements. With an annual production capacity of 20,000 tons of WPC products, the company provides consistent material supply for both small residential installations and large-scale commercial projects, backed by an integrated R&D, production, and technical support team capable of advising on optimal board selection, joist spacing, and fastener systems for any application.



 English
 Français
 Español
 Deutsch