2026-07-10
Content
Installing WPC decking involves building a level joist substructure spaced at 12 to 16 inches on center, laying boards with a consistent expansion gap of about 3 to 5 millimeters, and securing them with hidden clips or top face screws depending on the board profile. Most residential decks of 200 to 300 square feet can be completed in two to three days by a small crew, since WPC boards do not require staining, pre drilling for every screw, or extended curing time like natural wood. The key to a long lasting result is proper spacing and ventilation, which prevents warping and moisture buildup underneath the boards.
Before starting, gather the correct tools so the installation goes smoothly and boards are not damaged during cutting or fastening.
A stable frame is the foundation of any long lasting deck, and this step matters as much for WPC decking as it does for timber.
For most residential installations, joists should be spaced at 16 inches on center for standard traffic areas, and reduced to 12 inches on center for diagonal board patterns or areas with heavier furniture loads. This guidance is consistent with spacing recommendations published in the North American Deck and Railing Association (NADRA) installation standards for wood plastic composite products.
Leave at least 2 inches of clearance between the ground and the underside of the deck to allow airflow, and slope the substructure slightly, roughly a quarter inch per foot, so water drains away rather than pooling beneath the boards.
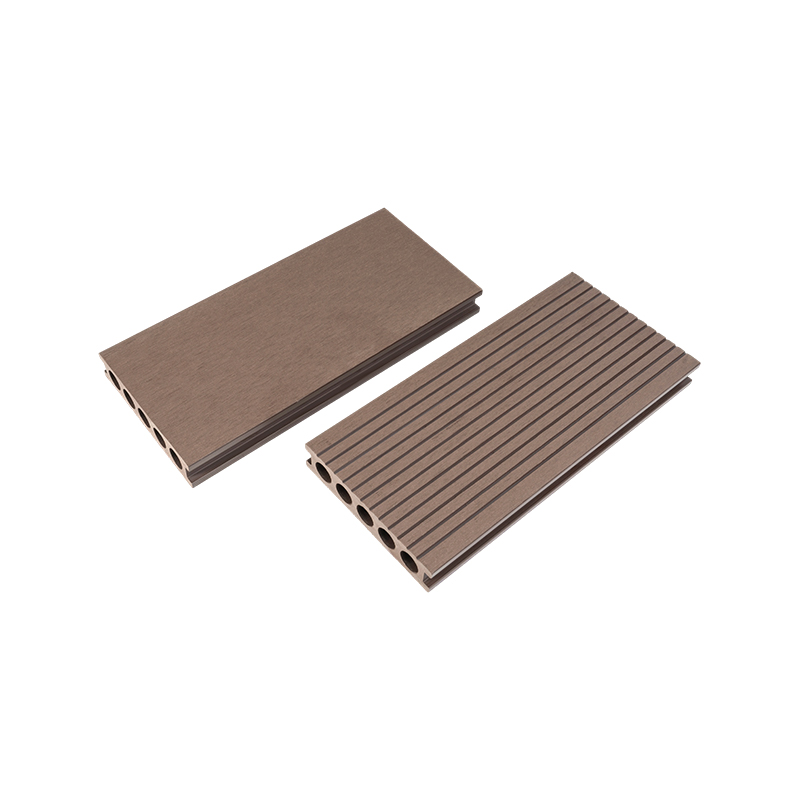
WPC decking is made from a mix of wood fiber and recycled plastic, which means it expands and contracts more than natural wood in response to temperature changes. Skipping the expansion gap is one of the most common installation errors.
| Installation Element | Recommended Gap |
| Between board ends (butt joints) | 6 to 8 millimeters |
| Between board sides (running length) | 3 to 5 millimeters |
| Against walls or fixed structures | 10 millimeters minimum |
| Perimeter fascia boards | 5 millimeters |
These figures reflect general manufacturer spacing guidance for capped wood plastic composite boards and may vary slightly depending on the specific board profile, so always confirm the exact tolerance listed for the product being installed.
There are two common ways to secure WPC boards, and the choice affects both appearance and long term board movement.
Hidden clips fit into a groove along the board edge and are screwed into the joist, leaving no visible fasteners on the surface. This method is preferred for a clean finish and allows boards to expand and contract naturally without restriction.
For grooveless or solid profile boards, corrosion resistant color matched screws are driven directly through the top face into the joist. Pre drilling is recommended in temperatures below 5 degrees Celsius to prevent the board surface from cracking around the screw head.
According to cost estimates compiled in the 2023 Remodeling Magazine Cost vs Value report, composite and WPC decking projects typically involve higher upfront material costs than pressure treated wood, but significantly lower labor time due to fewer finishing steps.
| Installation Factor | Wood Decking | WPC Decking |
| Pre drilling requirement | Usually required for every screw | Only needed in cold weather |
| Finishing after install | Staining or sealing needed | Not required |
| Average install time (300 sq ft) | 3 to 4 days | 2 to 3 days |
Once installed, WPC decking needs minimal upkeep compared to wood. A routine wash with mild soap and water every one to two months is generally enough to keep the surface clean, and the composite core resists rot, splintering, and insect damage that commonly affects untreated timber. Because the boards do not require sanding or resealing, most homeowners find that the time saved on annual maintenance offsets the higher initial material cost within a few years.
A successful WPC decking installation comes down to three fundamentals: a level and well spaced substructure, correct expansion gaps between boards, and fasteners suited to the specific board profile. Following manufacturer spacing charts and allowing for proper ventilation underneath the deck will prevent the majority of long term issues such as warping or mold. For homeowners planning an outdoor deck project, WPC decking offers a practical combination of manageable installation and long term durability compared to traditional wood.



 English
 Français
 Español
 Deutsch