2026-08-14
Content
WPC wall cladding is installed by mounting a batten or furring strip framework onto the wall first, then fastening the composite panels onto that framework with an air gap left behind for ventilation. This method, often called a rainscreen or ventilated cladding system, prevents moisture from becoming trapped against the wall structure and allows the panels to expand and contract naturally with temperature changes. Builders following this method typically report panel lifespans of 20 to 30 years when installation guidelines are followed correctly, compared to significantly shorter lifespans when panels are fixed directly against a solid wall without ventilation.
Before any cladding panels are installed, the wall surface needs to be assessed and prepared to ensure it can properly support the batten framework and the added weight of the cladding system.
Skipping proper wall preparation is one of the most common reasons cladding installations fail prematurely, since an unstable or moisture-compromised wall surface undermines the entire system regardless of panel quality.
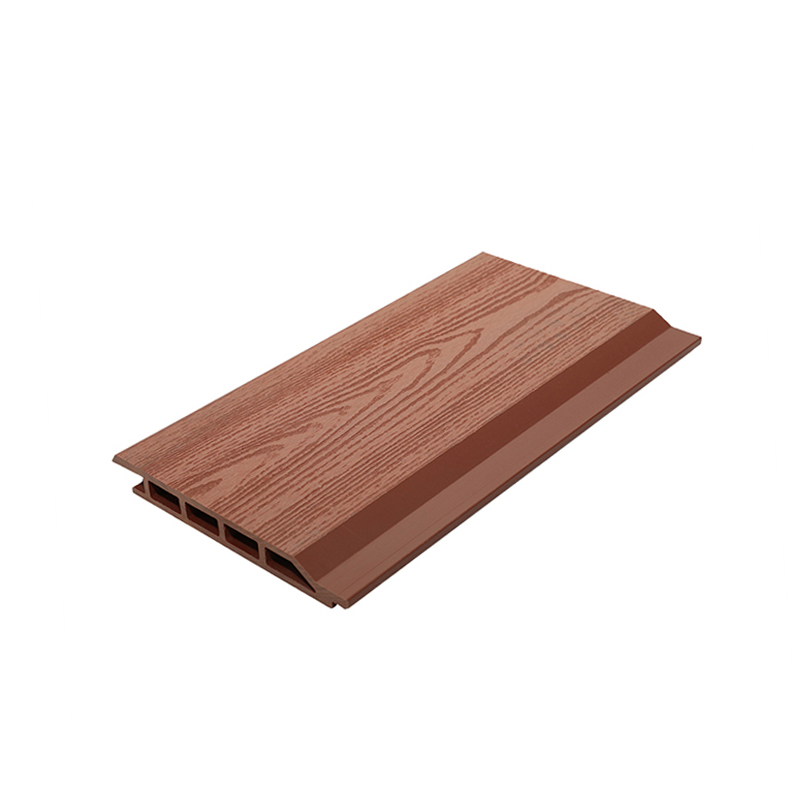
The batten framework, sometimes called furring strips, is the foundation that holds WPC wall cladding away from the wall surface, creating the ventilation gap needed for long-term performance.
| Panel Orientation | Recommended Batten Spacing | Air Gap Depth |
| Horizontal panels | 400mm to 600mm vertical spacing | 20mm to 25mm |
| Vertical panels | 400mm to 600mm horizontal spacing | 20mm to 25mm |
These spacing ranges reflect standard practices used across composite cladding installations, where consistent batten spacing prevents panel sagging while maintaining adequate airflow behind the cladding surface.
Once the batten framework is secure, WPC panels can be fastened using clips, screws, or a combination of both, depending on the specific panel profile being used. Fastener choice and spacing directly affect how well the panels handle thermal expansion.
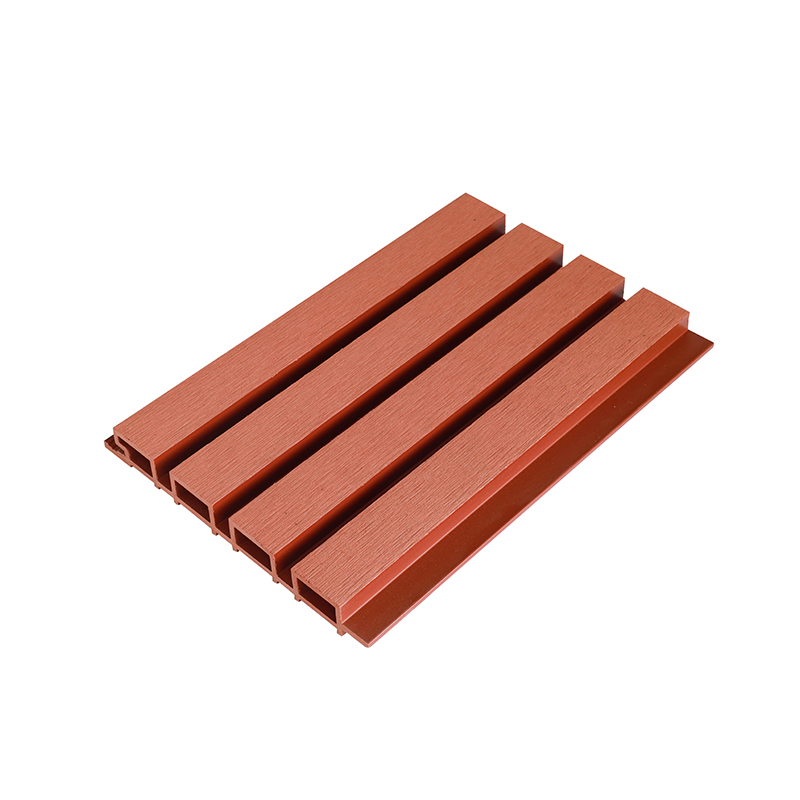
Many WPC panels, including those in WPC Wall Cladding product lines, are designed with interlocking edges that allow hidden clip fasteners to secure panels without visible screw heads on the finished surface, creating a cleaner exterior appearance.
In areas with higher wind exposure, additional screw fasteners may be used alongside clips for extra holding strength, though screws should always be installed through pre-drilled or slotted holes to allow for slight material movement without cracking the panel.
Like most composite materials, WPC wall cladding expands and contracts slightly with temperature changes, and installation must account for this movement to prevent buckling or warping over time.
Failing to account for expansion is a common installation mistake, and panels installed without adequate gaps can develop visible bowing during peak summer heat, even though the material itself remains structurally sound.
Proper sealing at joints, corners, and panel edges is essential to prevent water infiltration behind the cladding system, which can otherwise lead to moisture buildup despite the ventilated design.
Corner trim pieces, window and door surrounds, and the base of the cladding system near ground level are the most common points where water infiltration occurs if sealing is done incorrectly or skipped entirely.
A flexible, weather-rated sealant should be used at these transition points rather than rigid caulking, since flexible sealants can accommodate the slight panel movement that occurs with temperature changes without cracking over time.
WPC panels can be cut using standard woodworking tools, but blade selection and cutting technique affect the quality of the finished edge, particularly at visible corners and trim areas.
Properly sealed cut edges help maintain the moisture resistance that makes WPC wall cladding a durable choice, since exposed, unsealed edges are more vulnerable to water absorption than the factory-finished panel surface.
Even experienced installers can run into issues if certain details are overlooked during a WPC cladding project. Being aware of these common mistakes helps avoid costly rework after installation is complete.
Over-tightening screws or clips restricts the panel's ability to expand and contract, which can lead to cracking or warping around fastener points over time.
Installing panels directly against the wall without a battened air gap removes the moisture management benefit of the ventilated system, increasing the risk of trapped condensation behind the cladding.
Each panel profile has specific batten spacing and fastener spacing recommendations, and deviating from these guidelines without justification can void warranty coverage on the cladding material.
While WPC wall cladding installation follows a relatively straightforward process, larger commercial projects, multi-story buildings, or facades with complex architectural details often benefit from professional installation to ensure code compliance and long-term performance. Homeowners tackling smaller residential accent walls or single-story exteriors may find the process manageable with standard carpentry tools and careful attention to batten spacing, fastening, and sealing guidelines outlined by the panel manufacturer.



 English
 Français
 Español
 Deutsch