2026-10-15
Content
Most composite deck problems show up as a symptom in the boards and start as a mistake in the frame. A deck that rattles underfoot usually has joists spaced too far apart. Boards that ripple in midsummer were butted tight against each other in spring. A wobbly edge normally means the outer board had nothing solid to sit on. Composite decking is dimensionally stable and needs no oiling, but it will follow whatever structure sits beneath it and whatever gaps you leave for it.
This guide walks through the full installation sequence, the numbers that actually matter on site, and the points where crews lose time or create callbacks.
If you remember only one thing, remember the order: frame first, drainage second, gaps third, fixings last. Everything below expands on that sequence.
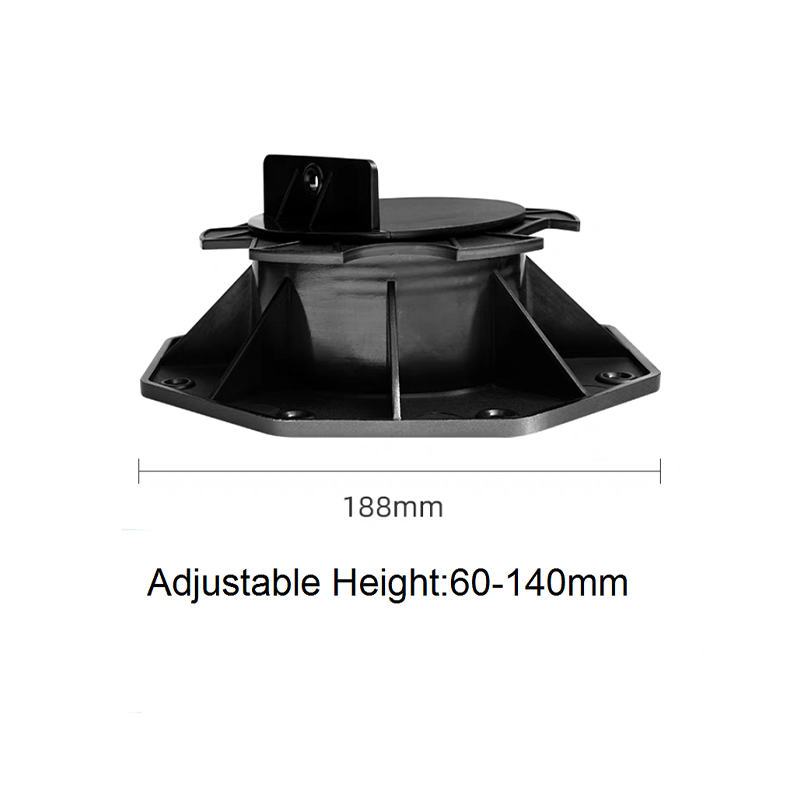
Composite boards do not rot, which is exactly why trapped moisture underneath them causes more trouble than it would under timber. Water sits, mould develops, and steel fixings corrode from below where nobody looks until the boards start to move.
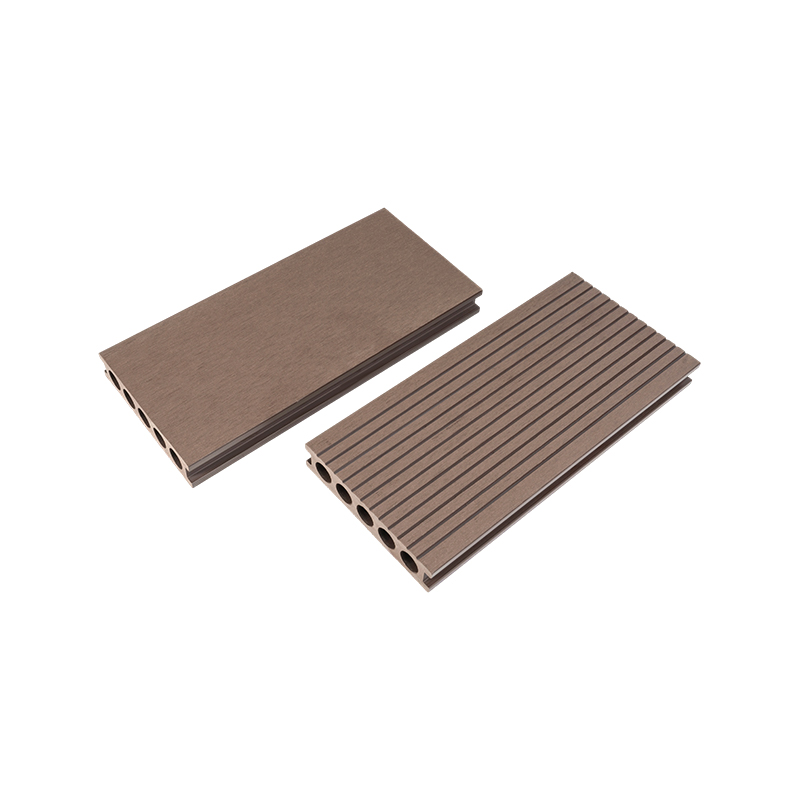
Composite boards are only as stiff as their supports. Joists run perpendicular to the board direction, and their spacing comes from the board datasheet rather than from habit. Hollow boards typically need 300 mm centres, while solid boards often allow 350 to 400 mm. Jumping to 500 mm centres to save material is the most common reason a deck feels springy and clips begin to fail within a season or two.
Board ends need their own support. Where two boards butt together, place a double joist or a solid block so each end has material directly beneath it. Overhangs at steps and borders are usually limited to around 50 mm, so plan the frame around the board module rather than cutting oversize boards to rescue a short frame.
For joist material, treated timber is cheapest but twists and shrinks as it dries. Aluminium stays straight and costs more. WPC joist profiles behave much like the decking itself, since the material absorbs very little water, so spacing stays where you set it and fixings keep their grip. The background on the material is straightforward enough to check in advance, and it explains why the frame, not the board, is the moisture sensitive part of the assembly.
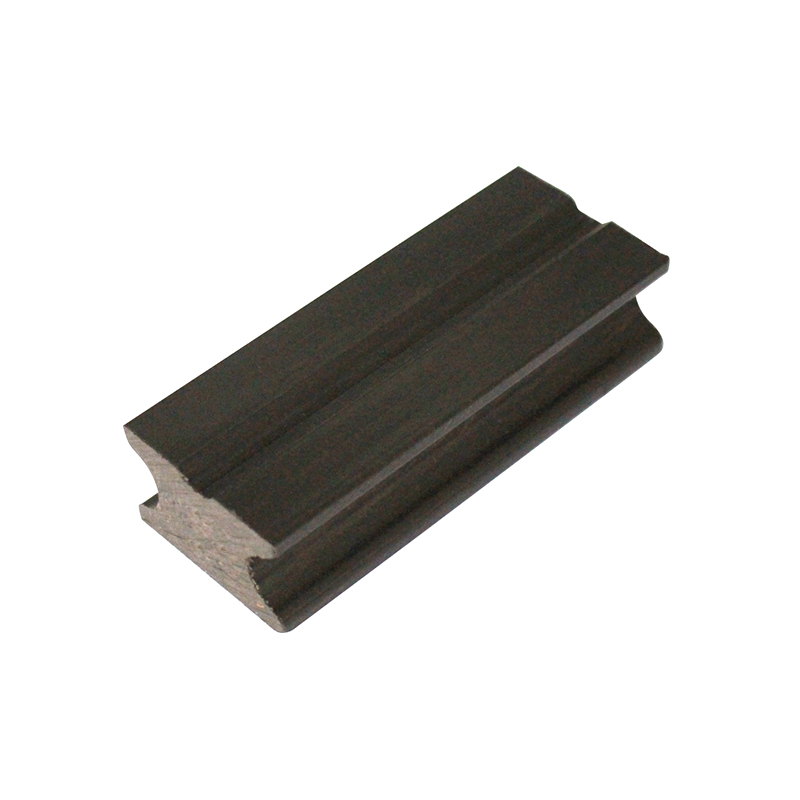
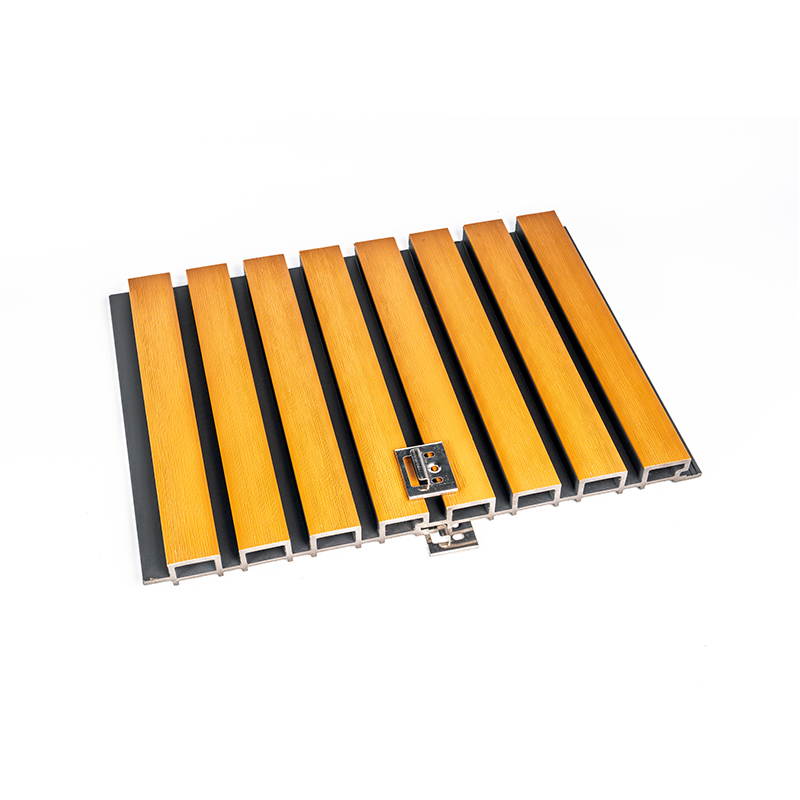
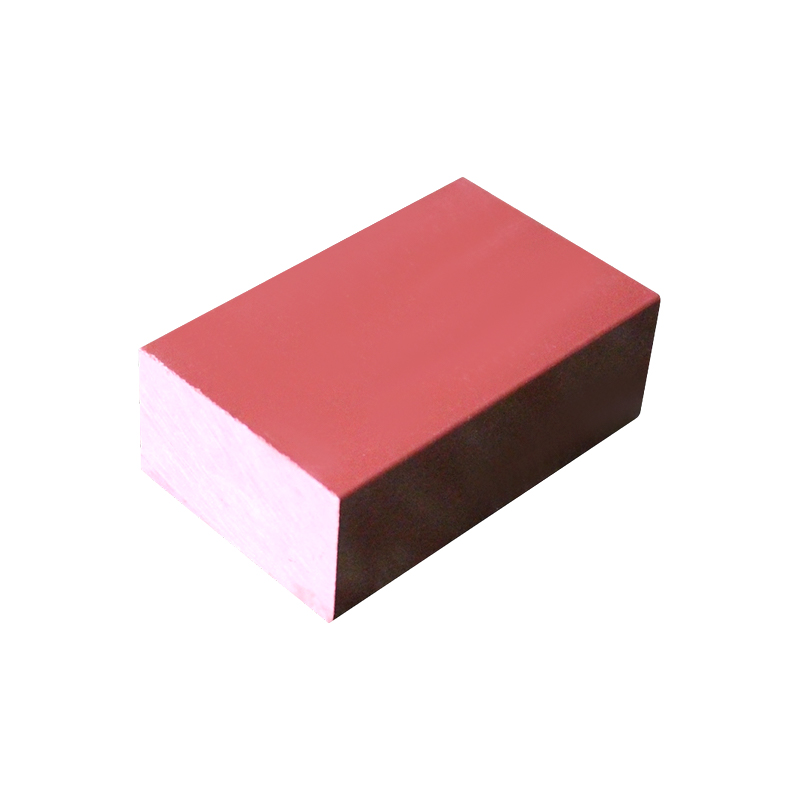 WPC Joist Keel for Flooring and Wall PanelsWood-plastic composite joist/keel for flooring and wall panels, available in double or steel options; low water absorption helps frames stay straight in damp assemblies.View Product →
For a closer look at what the boards themselves are made from, see what WPC decking is made of, which covers the wood fibre and polyolefin blend behind the low water absorption.
Start from a fixed reference. If the deck has a picture frame border, lay the border first. Otherwise run a chalk line for the first board and check it against the frame at both ends. Working across the deck from a straight edge keeps every following row parallel, which is far easier than correcting a run that drifts halfway through.
Gaps are a design feature, not a tolerance. The side gap is set by the clip spacer, normally around 4 mm, and end gaps of 3 to 5 mm stop boards pushing into each other as temperatures swing. Size the gaps for the hottest day you expect, not for the morning you install. On a cold start, work at the wider end of that range.
Stagger the end joints between rows so no more than one joint lines up across the width of the deck. Cut boards with a carbide tipped blade, cutting from the finished face downward to reduce chipping, and wear eye and dust protection. Whether you are laying a hollow embossed profile or a solid coextrusion board from the composite decking range, the gap rules stay the same.
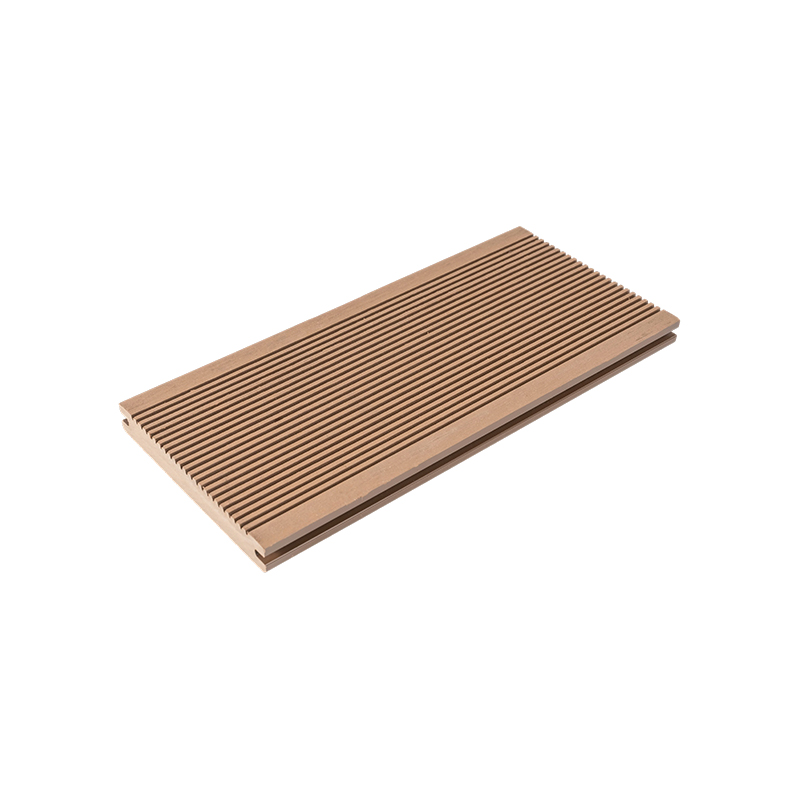
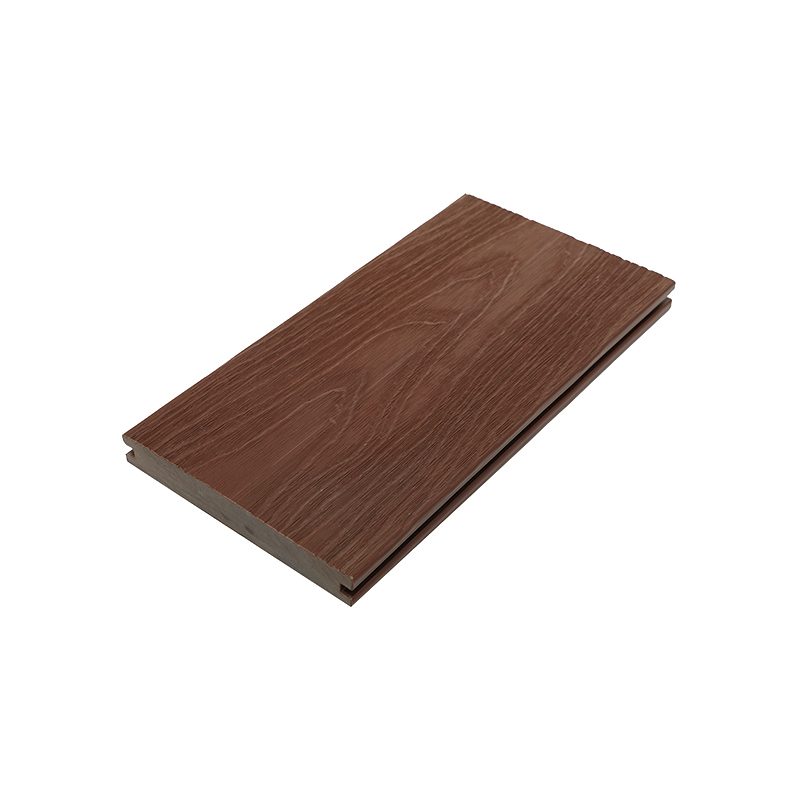 Solid Co-Extrusion WPC Decking BoardsSolid wood-plastic composite decking with a protective HDPE surface and wood-grain finish; durable, low-maintenance boards suited to standard composite gap rules.View Product →
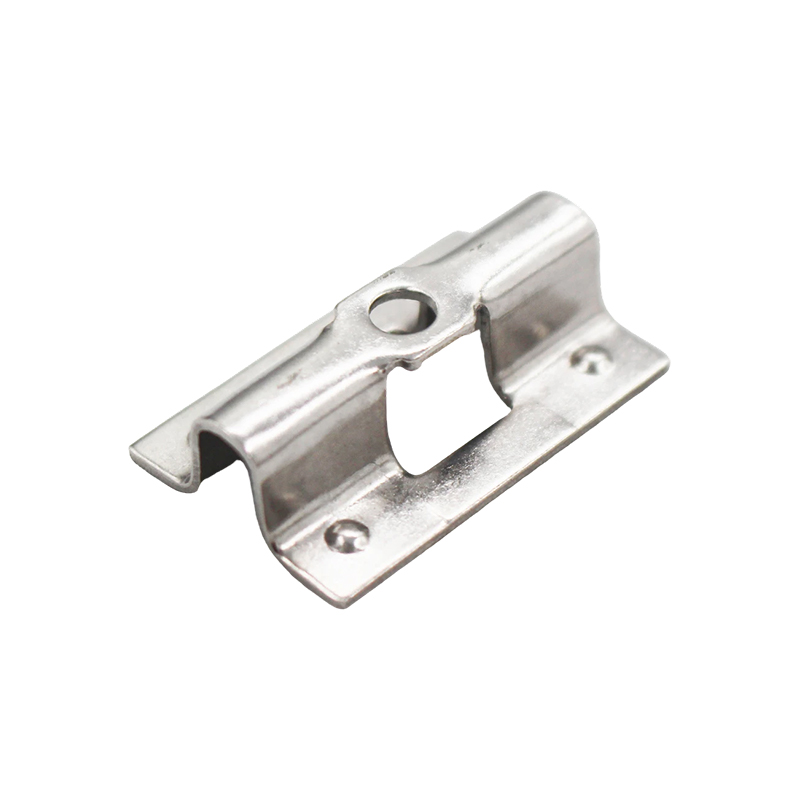
Hidden clips give the clean surface most clients expect. Plastic clips suit standard domestic traffic, while stainless steel clips hold their shape better in coastal air and on commercial decks with heavy footfall. Each clip takes two screws into the joist, and drive torque matters more than the screw brand. Over driving deforms the clip, and the board is then held by friction alone.
Near board ends, keep fixings 20 to 25 mm in from the edge and pre-drill in cold weather when the material is less forgiving. Face screws are reserved for borders, stairs and the first and last rows, where a visible fixing line can be made to look deliberate. Countersink slightly and never sink the head below the surface.
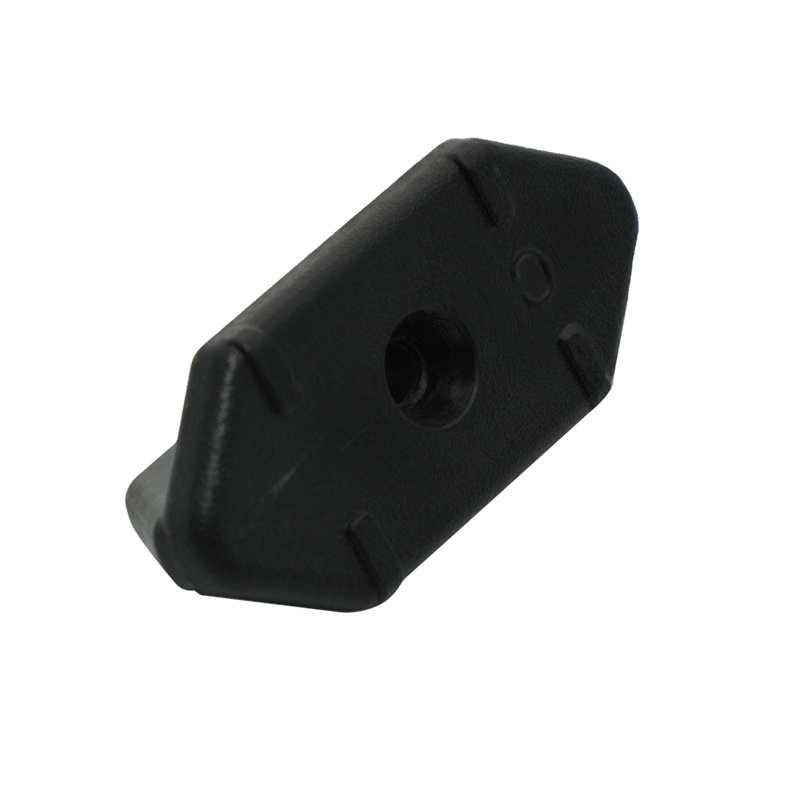
 Stainless Steel Concealed Clips for Composite DeckingConcealed stainless-steel clips for composite decking, suited to coastal or poolside decks; they secure boards while allowing drainage and later panel replacement.View Product →
If the deck is near the coast or beside a pool, stainless clips and stainless screws are the safer pairing, since standard steel will show surface corrosion within a few seasons in salt air.
A picture frame border turns a cut edge into a clean line and hides the ends of the field boards. Set the border on its own frame and keep its overhang inside the datasheet limit, often around 50 mm, because an unsupported border is the first part of a deck to feel loose.
Fascia boards close the gap between the deck surface and the ground, and they should sit slightly clear of the frame so air still moves through. Edge caps and corner trims finish end grain and corners, which are the areas where moisture and traffic arrive first.
For steps, keep stringer spacing the same as joist spacing and support every tread board at both ends and the middle where possible. Handrail heights and step rises follow local code, so confirm those numbers before cutting a single tread.
The faults below account for most site callbacks. None of them relate to the quality of the board itself, and all of them can be avoided during the frame and fastening stages.
| Fault | What happens | Correction |
|---|---|---|
| Joists at 500 mm centres | Springy boards, clip fatigue, noise under foot | Set 300 to 400 mm to the board datasheet |
| Boards butted end to end | Rows buckle in summer heat and clips pop | Leave 3 to 5 mm at every board end |
| No airflow under the frame | Trapped moisture, mould, corroded fixings | 50 mm clearance with open sides |
| Flat surface with no fall | Ponding, staining, slippery algae | About 10 mm per metre away from the building |
| Face screwing near board ends without pre-drill | Split ends and loosened fixings | Pre-drill and stay 20 to 25 mm from the end |
Before you leave site, walk the entire deck and press down on each board edge to confirm the clips have engaged. Listen for movement at borders and steps, where loose fixings announce themselves first.
Routine care is simple. Sweep regularly, wash with a stiff brush and soapy water, and avoid pressure washers set high enough to scar the surface, since a roughened face holds dirt and grows algae faster. Composite boards do not need sealing or oiling, so the maintenance budget stays low. Check fixings once a year, especially on shaded sides and under trees where leaf litter keeps the surface damp for longer.
At procurement stage the practical risk is mismatch. Boards from one supplier, joists from another, and clips bought to a price can leave a crew with a spacer that does not match the board thickness or a trim that does not fit the profile. Ordering boards, joists, clips, screws and edge caps as one package removes that risk and shortens the punch list.
For project work, confirm thickness, surface finish, joist spacing recommendation and colour availability in writing before the order is placed, and keep two spare boards of each colour on site for later repairs. A supplier that produces profiles from CAD drawn cross sections and can match custom colours makes it easier to hold those tolerances across repeat orders, which matters when a second phase of the same project starts a year later.



 English
 Français
 Español
 Deutsch