2026-10-16
Content
The failure usually appears three months after handover. The wall looks flat from across the room, but angle a work light across it and the WPC PVC panels wave, creak, or open at the joints. In most cases the panel itself is not the problem. The installation is: panels were fixed tight with no room to move, screwed through the face, or installed over a wall that was out of flat by more than a few millimetres over a metre. Fix those three points and the rest of the work is simple. WPC PVC panels are light, water resistant and fast to install, but they move with temperature, so treat them as a floating skin on a straight, ventilated substrate rather than a rigid sheet glued to a wall.
The sequence below follows the order a crew actually needs on site: confirm the panel type, gather tools, set out, build the substrate, fix the first panel, lock the field, finish the edges, then inspect.
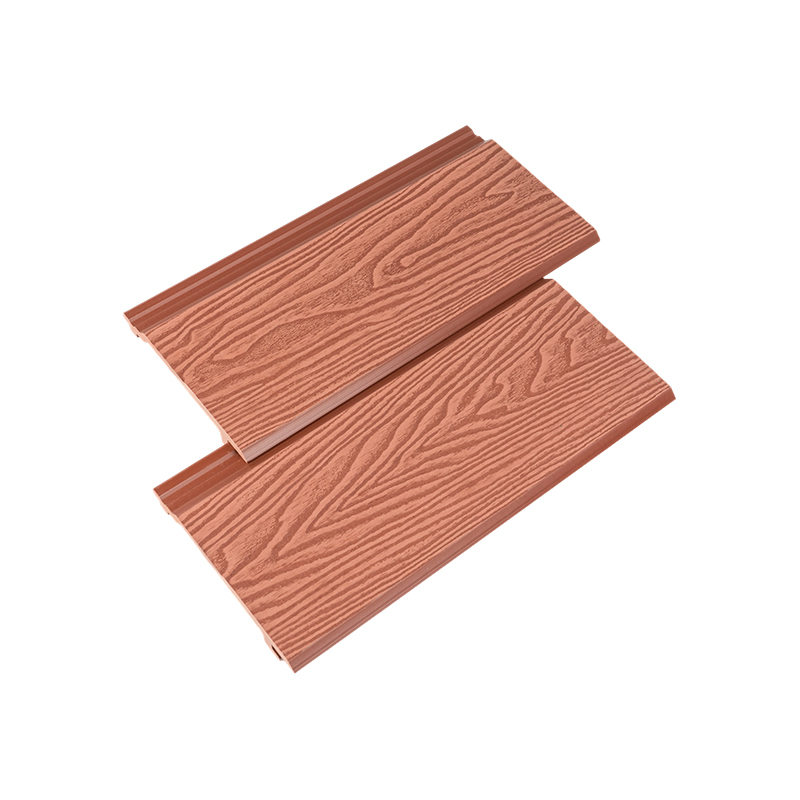
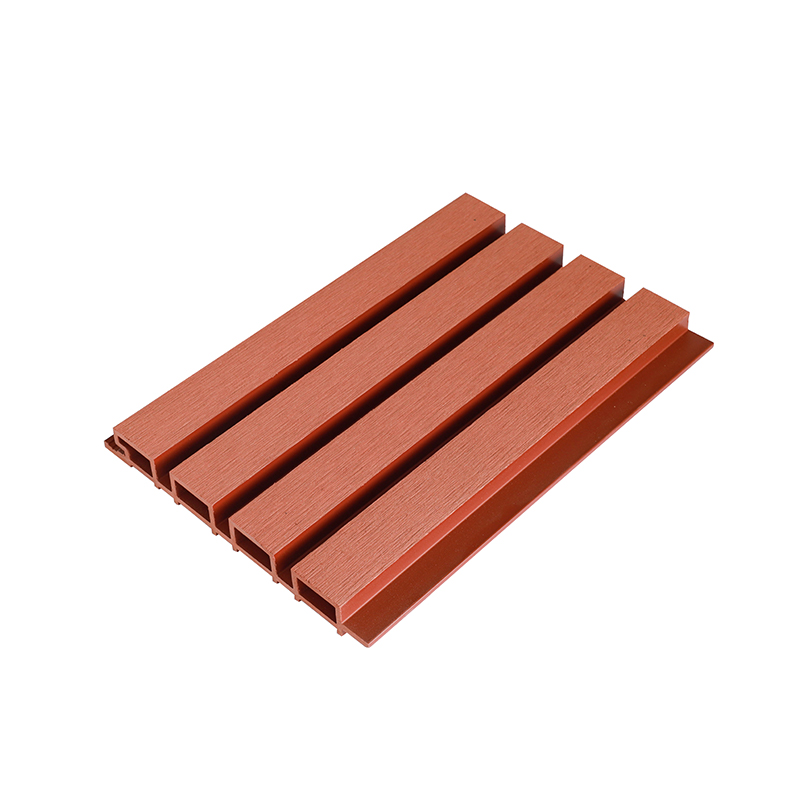
The phrase WPC PVC wall panel covers two different products, and they do not share a fixing method. PVC foam panels are a rigid PVC or foam core, often with a marble or wood film, usually 5 to 10 mm thick, and are normally glued or clicked onto a flat interior wall. WPC co-extrusion cladding is a wood plastic composite profile with a co-extruded skin, commonly 219 mm wide and 26 mm deep, supplied in hollow and solid versions with wood grain, classic or 3D embossed surfaces.
| Item | PVC foam panel | WPC co-extrusion cladding |
|---|---|---|
| Typical size | 5 to 10 mm thick | 26 mm profile depth, 219 mm cover width |
| Core | PVC or PVC foam with film finish | Polyolefin and treated wood fibre, co-extruded skin |
| Standard fixing | Adhesive or click joint | Hidden clips or stainless screws into a keel |
| Substrate | Flat, dry, solid wall | Level battens or keel at 400 to 600 mm centres |
| Movement per metre | About 2 to 4 mm | About 5 to 8 mm |
| Suited to | Interior feature walls and ceilings | Interior walls, exterior facades, garden walls |
If your panel is hollow at the end, has a tongue and groove on the long edges, and arrived with small clips in the box, you have co-extrusion cladding and the keel and clip route in this guide applies. If it bends easily by hand and is under 10 mm thick, it is a PVC foam panel and the fixing will be adhesive or click based. For a wider view of how the material behaves on a building face, read what composite siding cladding actually is before you order.
 Co-Extruded WPC Outdoor Wall Panel, 219 x 26 mmFor co-extruded cladding with hollow tongue-and-groove ends, this WPC outdoor wall panel is the relevant 219 x 26 mm product to review before ordering.View Product →
Two habits save more time than any tool. Let the panels sit in the room or under cover on site for 24 to 48 hours so they reach the temperature they will live at, and keep every panel wrapped until it is about to be cut. The co-extruded surface scratches easily in transit and a scratched face cannot be repaired on site. On exterior work, do not substitute galvanised screws for stainless; rust streaks appear on the panel face long before the fixing fails.
Work from one end and keep clip type and spacing consistent. Mixing clips along the same wall is the most common reason a finished wall looks uneven, even when every individual panel is straight.
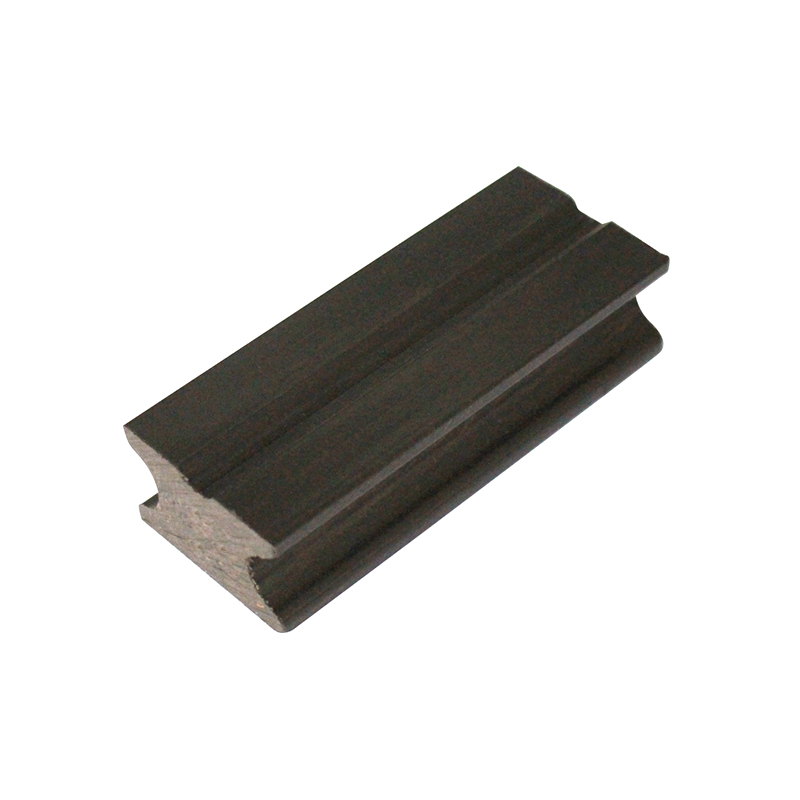
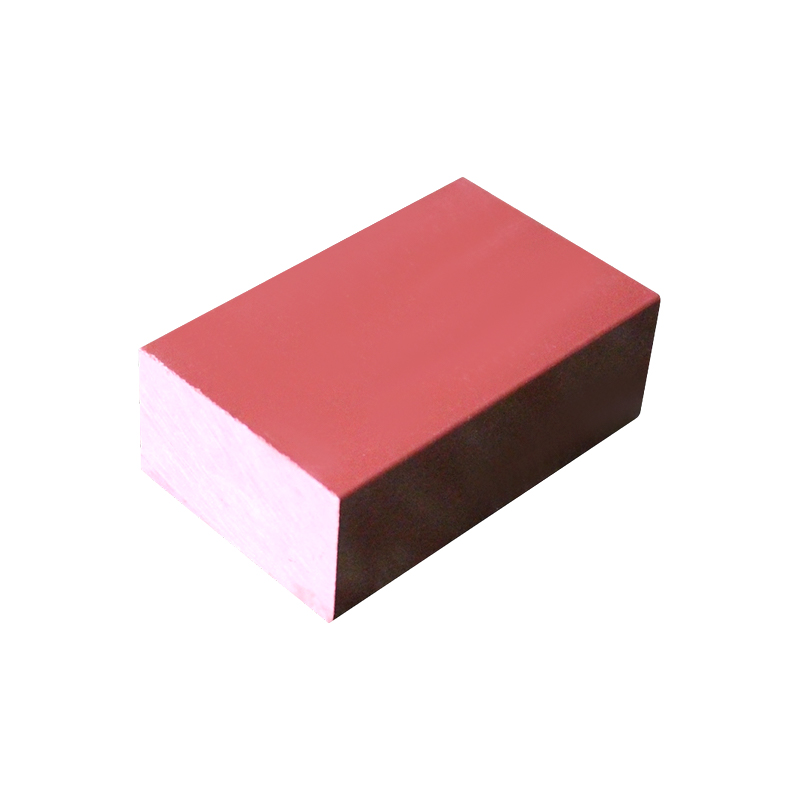 WPC Joist Keel for Flooring and Wall PanelsUse this WPC keel to keep clip spacing and panel joints consistent; double or steel options support floors, walls, and ceilings.View Product →
These are the numbers worth writing into the method statement before a crew starts. Always confirm them against the technical sheet for the exact profile you bought.
| Parameter | Recommended value | If it is ignored |
|---|---|---|
| Gap at floor and ceiling | 8 to 10 mm | Panels bind and bow once the wall warms up |
| Gap at vertical ends and corners | 5 to 8 mm per side | Tongues split or panel edges crush |
| Keel or batten spacing | 400 to 600 mm centres | Panels flex and clips loosen |
| Substrate flatness | 3 mm maximum over 2 m | Visible waves under angled light |
| Screw position | 15 to 20 mm from the panel end, inside the clip channel | A face fixing becomes a crack line |
| Ventilation cavity | 10 to 15 mm minimum | Trapped moisture and mould behind the wall |
Most complaints trace back to the first two rows. A wall fixed tight at the top and bottom has nowhere to expand into, so the movement goes into the panel face instead. The result is oil canning, a shallow bulge that comes and goes with the temperature, and re-screwing will not remove it.
Panel installation is not finished when the last panel is clipped. Edges and cut ends are where water and dirt get in, and they are the first thing a client looks at. Close every exposed end with an edge cap or a matching corner profile, and seal every cut with neutral cure sealant in a colour that matches the panel.
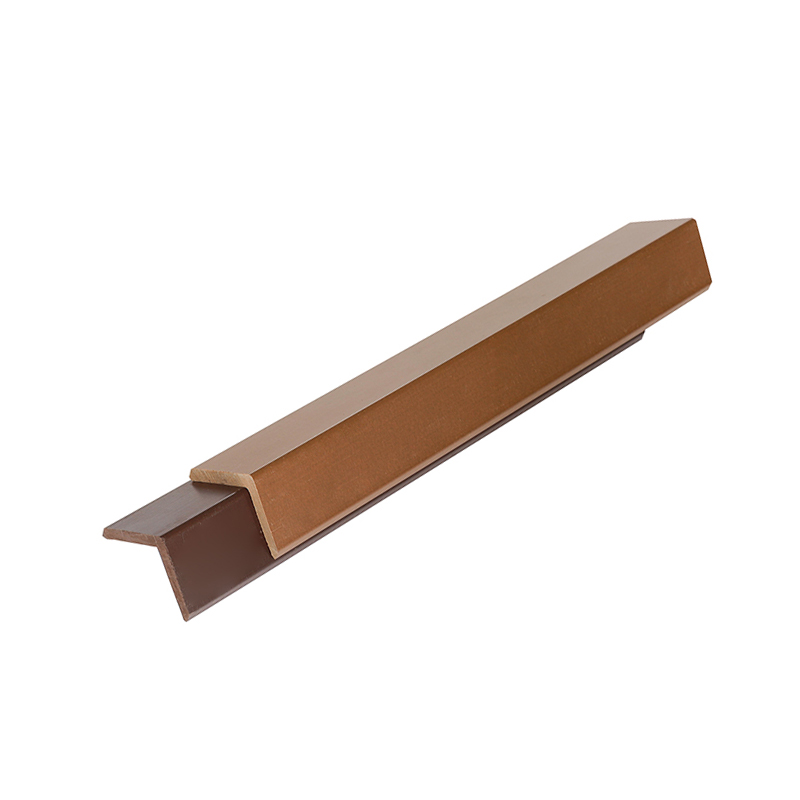 Composite Decking and Wall Panel Edge CapsFinish exposed composite panel edges with these co-extruded edge caps; they cover corner openings and seal against moisture, dust, and wear.View Product →
Installation quality on WPC PVC wall panels comes down to a short list: a flat substrate, a ventilated cavity, hidden fixings, and a controlled expansion gap at every boundary. Get those four right and the panel does the rest.
Senyu Wood supplies WPC cladding with matching clips, keel, screws and edge caps from one production base, so the parts of the system are designed to work together. If you are planning a project and want to confirm profile depth, fixing spacing or gap sizes for your climate, send us your wall dimensions and substrate details and we will return a specification you can put straight into the method statement.



 English
 Français
 Español
 Deutsch